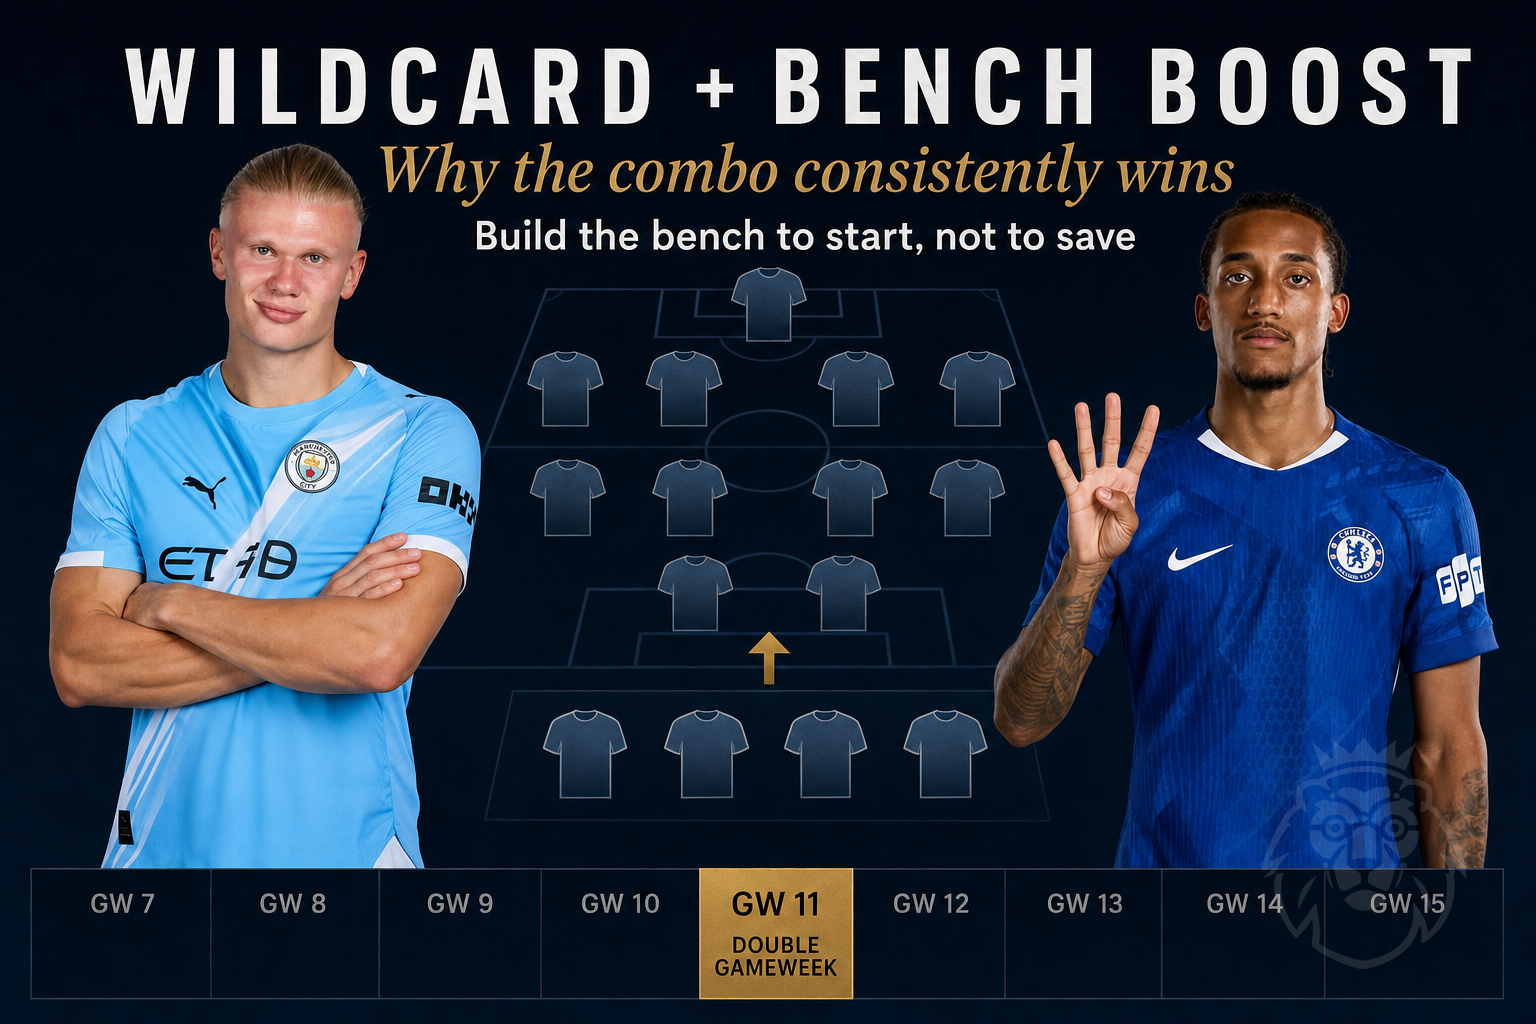
Most Wildcards treat the bench as an afterthought — four cheap names that exist to satisfy squad rules and free up budget for the starting XI. The version of the Wildcard that consistently produces the biggest single-gameweek scores does the opposite: it drafts the bench as if all four players are about to start, because a Bench Boost is coming, and the whole squad was built with that specific gameweek in mind from the first transfer. This is a structural advantage, not a lucky break, and it is repeatable — twice a season under the current chip system, which almost no chip content written for the old rules actually accounts for.
Why the Combo Structurally Outperforms a Standalone Wildcard
A standalone Wildcard, played with no specific forward plan, tends to optimise for the strongest possible starting XI within budget, with the bench absorbing whatever funds are left over. That is a reasonable use of the chip in isolation, but it leaves real value on the table, because a genuinely strong bench — four players who could plausibly start for most FPL squads — requires the same disciplined budget planning as a strong XI, and that planning only happens if you decide to build for it from the outset.
The wildcard-then-bench-boost combo works by fixing the target gameweek before you draft a single player. Rather than asking "who are the best 15 I can afford," the question becomes "who are the best 15 I can afford, all of whom have strong fixtures in gameweek X specifically" — and critically, that includes the bottom four, not just the top eleven. When the Bench Boost lands in that target gameweek, you are not hoping four squad-filler picks happen to have decent fixtures. You built them into a squad specifically because they did.
The Ceiling Difference: Cheap Enablers vs Playing-XI Quality
The practical gap between a standard Wildcard bench and a bench-boost-optimised bench is significant. A typical enabler bench — four players in the £4.0m to £4.5m range picked purely to free up funds — might realistically contribute 8 to 15 points in a Bench Boost gameweek even with reasonable fixtures, because they are priced and selected for survival, not output. A bench specifically drafted for playing-XI quality, even within a similar budget range by targeting undervalued starters rather than the cheapest possible names, can realistically contribute 20 to 35+ points in the right gameweek, because every player in that bottom four was chosen with the same rigour as your captain.
That gap — roughly 15 to 20 extra points from four players who occupy exactly the same squad slots either way — is the entire case for the combo. It is not a marginal edge. It is close to a free green arrow, generated purely through planning discipline rather than any additional spend.
The Framework: Building Backward From the Target Gameweek
The process starts with identifying a target gameweek window before making a single transfer. The strongest candidates are double gameweeks, where a favourable run of fixtures concentrates into a single round where a large share of the player pool plays twice — this is where the ceiling of the combo is highest, because even modestly-priced bench options can return twice in one gameweek. In the absence of a clean double gameweek, a single gameweek where an unusually high number of teams face weak defensive opposition simultaneously can still support a strong combo, just with a lower ceiling than a genuine double.
Once the target window is set, work backward: which 15 players, across your full budget, have genuinely strong fixtures specifically in that window — not just decent fixtures generally, but a fixture run that clusters favourably around your target gameweek. This is fundamentally a full-squad fixture screening exercise, and it needs to cover all 20 clubs simultaneously to find the players — starters and squad-fillers alike — whose fixture runs actually align with your target window rather than the wider season average.
Oracle's fixture difficulty tool is built specifically for this screening step — showing fixture strength across all 20 clubs at once rather than one team at a time, which is what makes it practical to identify a genuine cluster of favourable fixtures rather than eyeballing individual run-ins. Since bench boost timing is fundamentally about finding the gameweek where your whole squad, bench included, has good fixtures, a tool that shows the full picture across every club simultaneously is the natural starting point for this specific exercise, rather than a generic chip reminder.
This only works if the wildcard half is timed properly in the first place — too early and you rebuild a squad you will want to change again before the bench boost lands. When to play your first wildcard covers the trigger.
Budget Discipline: Why This Requires Planning the Whole Squad, Not Just the Bench
The combo only works if the budget math is planned holistically from the start. If you draft your strongest possible XI first and then see what is left for the bench, you will almost always end up with the standard enabler bench regardless of intentions, simply because there is rarely meaningful budget remaining once the starting XI is optimised in isolation.
The correct sequencing: decide your premium allocation for the XI first as a fixed budget line, then allocate a meaningfully larger share than usual to the bench specifically, treating it as a semi-starting unit rather than a formality. This often means accepting a slightly less star-studded top XI than a standalone Wildcard would produce, in exchange for a bench that can genuinely contribute when boosted. The trade-off is the entire point of the combo, and it is a trade-off most standalone Wildcards never consciously make. The general Wildcard-building process, including this kind of budget-philosophy decision, is covered in full in our guide to building an FPL Wildcard squad — this combo is a specific, high-value application of that broader process with the Bench Boost target fixed from the outset.
This is the one scenario where accumulated team value genuinely earns its keep, because the combo demands a specific squad rather than a cheap one. Our guide to price changes covers when building value is worth the effort — and the far more common case where it isn't.
The 2025/26 Change: You Can Run This Combo Twice
This is the part almost no existing chip content covers properly, because most of it was written for the old single-chip system. Under the current 2025/26 rules, covered in full in our complete guide to the new chip system, managers receive two Wildcards and two Bench Boosts across the season rather than one of each. That means the wildcard-then-bench-boost combo is not a single, once-a-season opportunity to plan around carefully and then hope you got right — it is a repeatable structural play that can be executed twice, once in each half of the season.
This changes the planning calculus meaningfully. The first-half combo, using your first Wildcard and first Bench Boost before the gameweek 19 deadline, can be played with slightly more willingness to accept an imperfect fixture window, since a second opportunity exists in the back half of the season if the first one is suboptimal. The second-half combo, from gameweek 20 onward, benefits from a clearer view of the remaining fixture calendar and can be timed with more precision against a confirmed double gameweek. Treat the two as sequential opportunities to refine the same play, not a single shot you need to get perfect on the first attempt.
Weighing the Trade-Off Against a Standard Transfer Path
The combo is not free — it requires committing a Wildcard to this specific structural goal rather than to pure squad-quality maximisation, and it requires the discipline to hold that plan across several gameweeks while the target window approaches, resisting the urge to make reactive changes along the way. Whether that trade-off is worth it compared to a more conventional transfer path in the run-up depends on the same expected-value thinking covered in our transfer hit expected-value framework — the combo's expected point gain over a standard Wildcard, concentrated in a single gameweek, needs to be weighed against the flexibility you give up by committing to the plan several gameweeks in advance.
In practice, the combo is most clearly worth it when a genuine double gameweek is identifiable well ahead of time and your current squad is already due a Wildcard reset for other reasons — injuries, fixture swings, general structural drift. It is a weaker case if you would be forcing an early Wildcard purely to chase the combo when your existing squad does not otherwise need the reset.
A Wildcard bench built for survival and a Wildcard bench built for a Bench Boost occupy the exact same four squad slots and cost roughly the same budget. The only difference is planning — and that fifteen-to-twenty-point gap between them is one of the most repeatable structural edges available in FPL, twice a season under the current rules.
The Oracle Takeaway
The wildcard-then-bench-boost combo consistently outperforms a standalone Wildcard because it drafts all four bench slots as playing-XI quality rather than budget filler, built specifically around a target gameweek identified in advance. Under the 2025/26 two-of-each chip system, this is not a single season-defining decision — it is a repeatable play available twice, once in each half of the season.
Three actions to take before your next Wildcard: identify a target gameweek — ideally a double, or at minimum a window of clustered favourable fixtures — before drafting a single player. Allocate meaningfully more budget to your bottom four than a standard enabler bench would receive, treating those four slots as a semi-starting unit. And screen all 20 clubs' fixtures simultaneously against your target window, rather than assessing individual players' run-ins in isolation.
Oracle's chip evaluator flags Bench Boost opportunities specifically when your projected bench total clears 18 points and a double gameweek is upcoming — a direct, honest signal rather than a generic chip reminder. Screen all 20 clubs on Oracle's fixture difficulty tool to find your target window, then build your Wildcard squad — bench included — around it.
Have you run this combo before — and did you draft the bench for survival or actually build it to start? 👇